Using Custom Content Types with Lists
Content types are an essential part of SharePoint that enables you to organize and manage content across SharePoint sites. SharePoint already has out-of-the-box (OOTB) content types defined however you can create your own as well. It is best practice to create your own custom content types and site columns instead of modifying the existing content types.
For a better understanding of content types please see Introduction to content types and content type publishing.
In this example, I want to have multiple speaker lists using a custom content type and site columns for the list using a custom list template.
Step 1: Create site columns
- From the Site Settings page navigate to Site Columns.
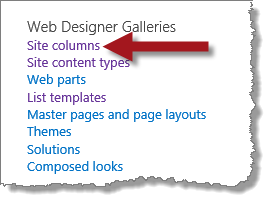
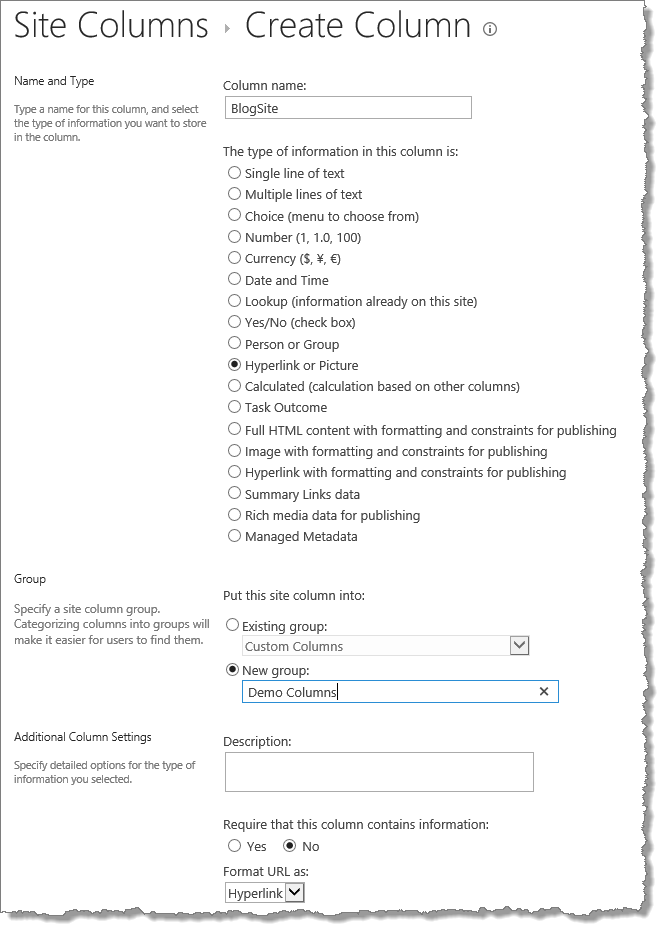
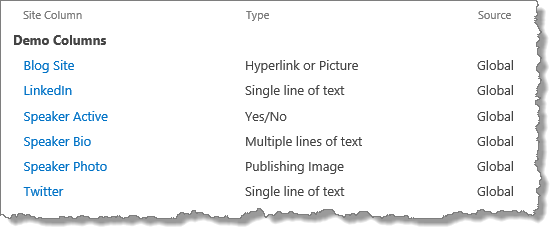
- Create your new custom columns and assign each column to a group. I used Demo Columns as my group for organzing my custom columns for my demo.
Because SharePoint creates internal field names for columns, it is best practice to name your columns with no spaces nor special characters and then rename the column after it’s created. Once internal field names are created, they cannot be renamed however you can change the display name of the column as many times as you’d like.
Step 2: Create custom content type
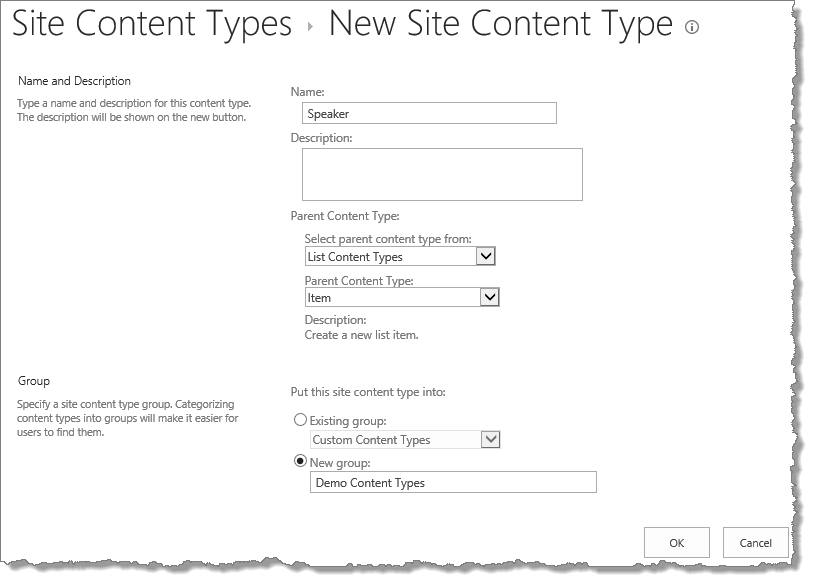
- Create custom content type. For this example, I created a content type called Speaker and based it off the Item parent content type.

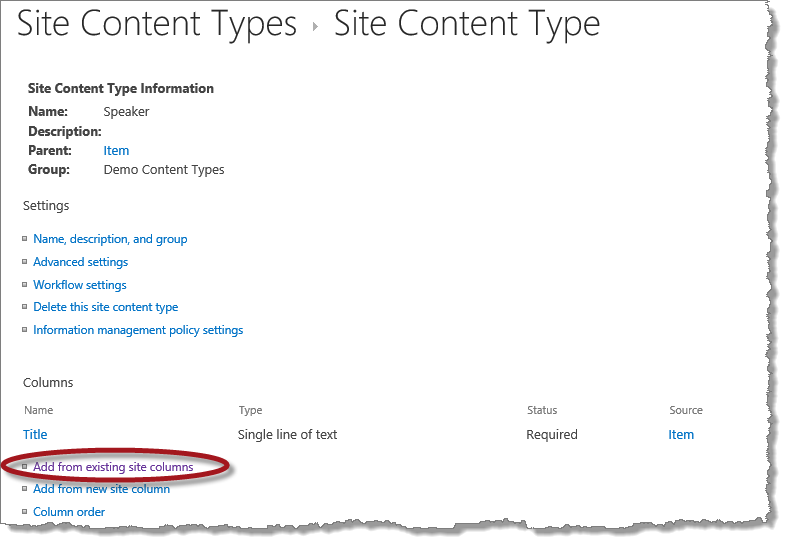
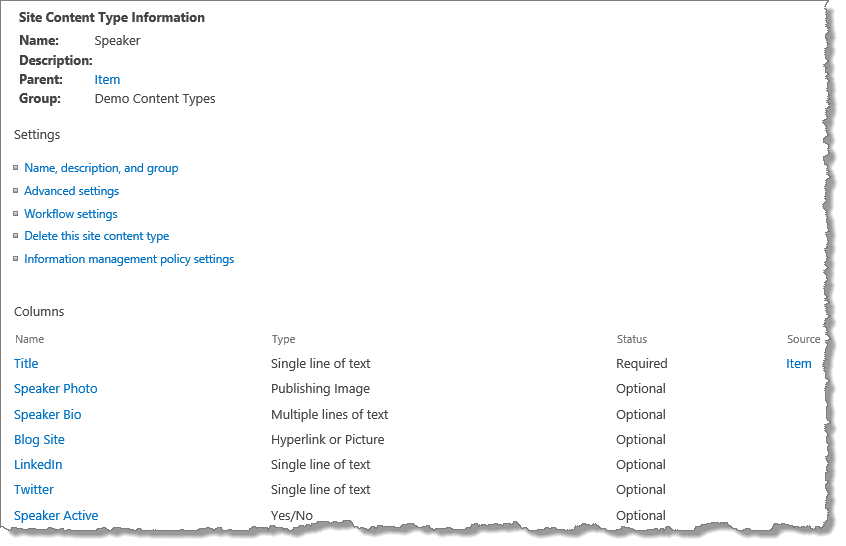
Step 3: Add custom site columns to content type
Step 4: Create list and configure list to use the new content type
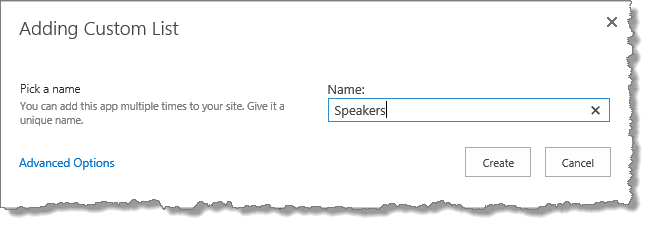
- Create new list. In this example, I’m using a Custom List called Speakers.

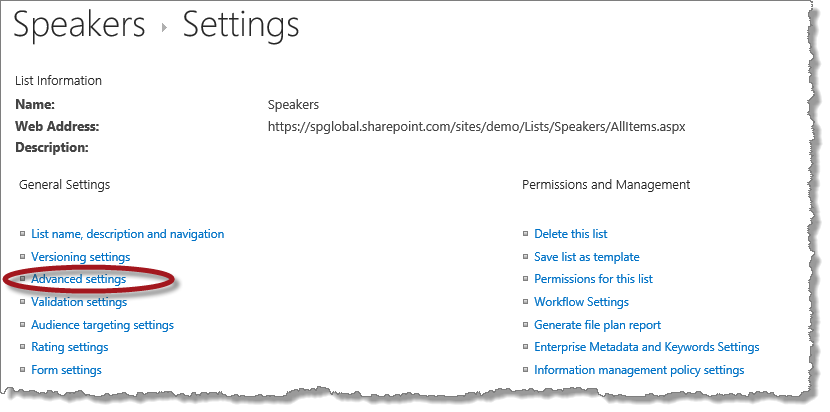
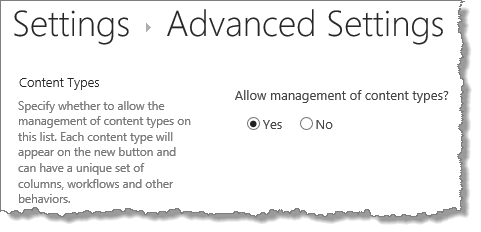
- Configure the advanced settings of the list to Allow management of content types.
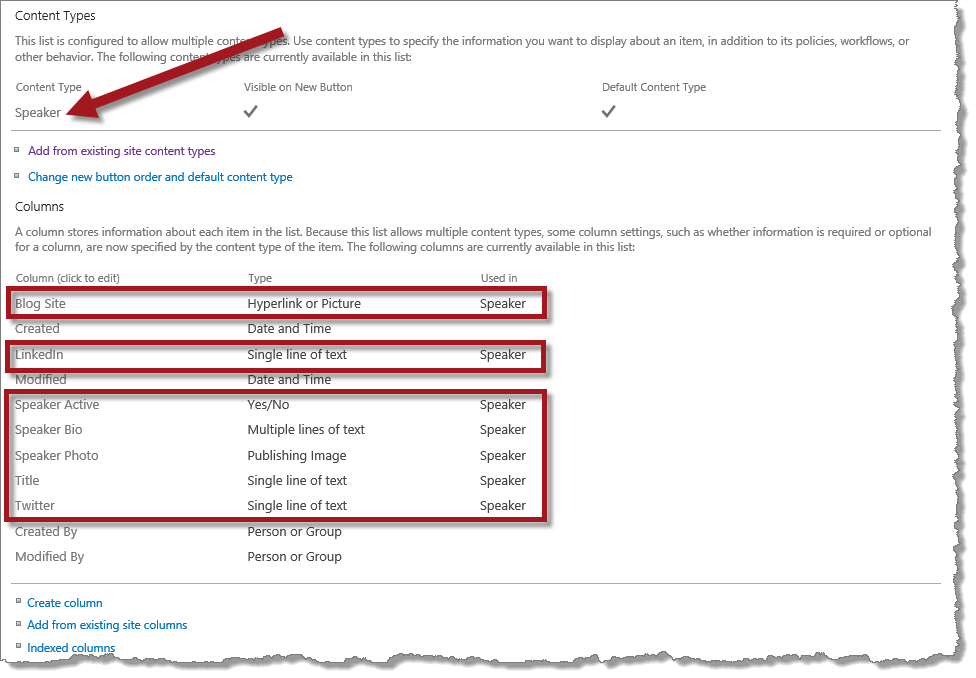
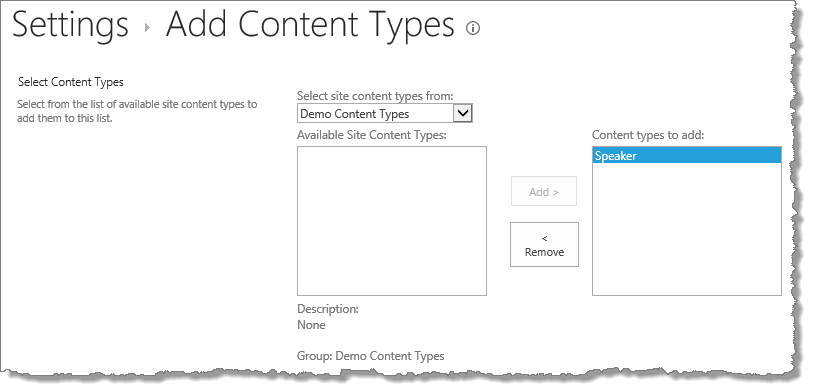
- Add the new custom content type to the custom list.

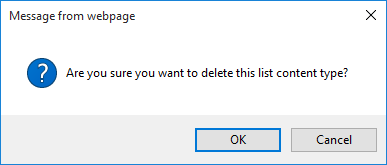
- Remove the default content type you no longer want to use by clicking on the Content Type name then click on Delete this content type. In this case I removed Item content type from the custom list.

The OOTB content types can only be deleted from a list if the list does not contain any items that are using the content type.
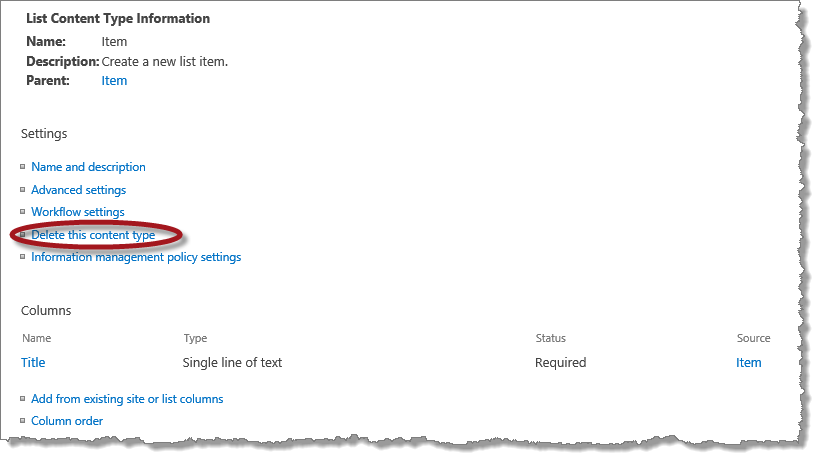
Even though the link says “Delete this content type” it’s really just removing it from the list. The text can be misleading which is why I like to point it out. You’ll know you’re good as long as the dialog prompt says “Are you sure you want to delete this list content type?” and the content type is then removed from the list.
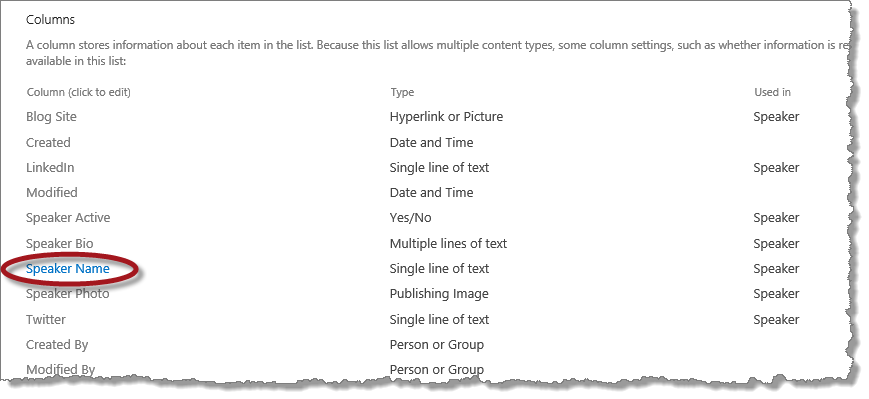
- For this list, I changed the Title column to Speaker Name. Changing the column at the list level will only affect the list and since Title is an OOTB site column you do not want to change the name at the site column level.
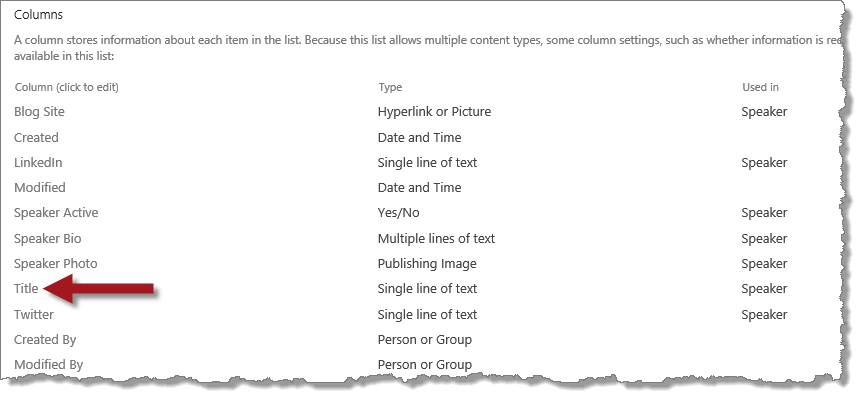
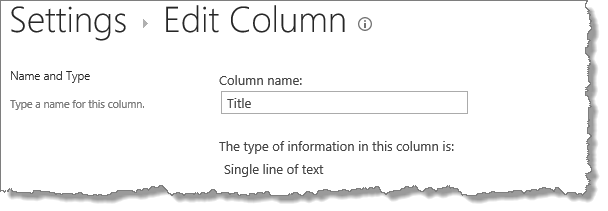
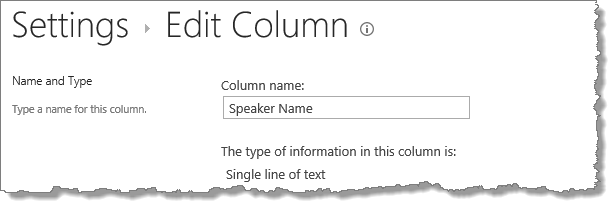
To keep this demo simple, I decided to use Title as Speaker Name however I could have changed Title to Last Name and then add First Name to the Speaker content type.
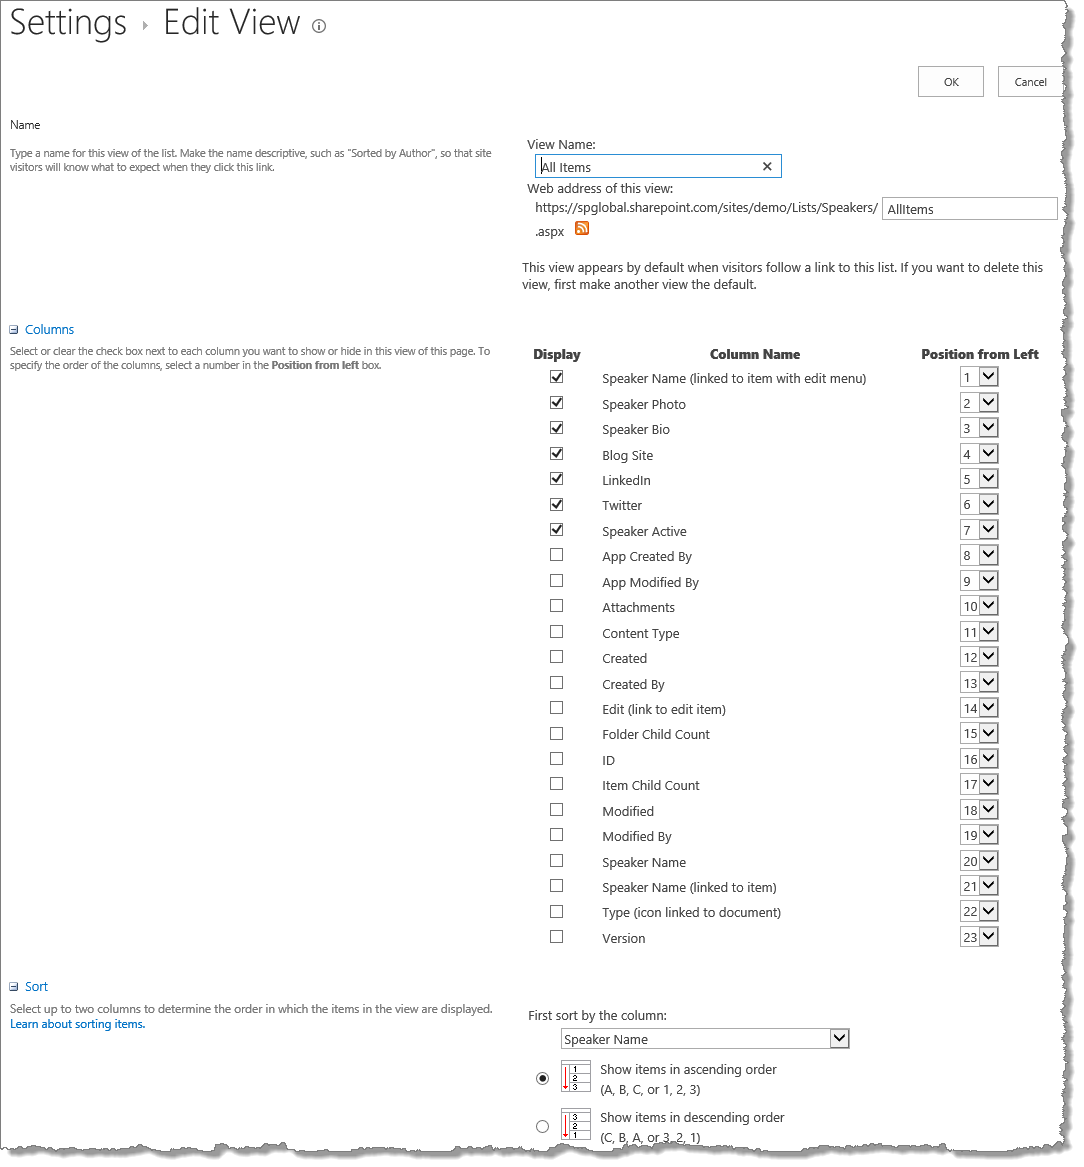
Configure any additional list settings you desire to change such as modify the default view settings (add/remove columns) or create new views for the list. If using only a single content type you can turn off Allow management of content types. Any settings applied to the list will become a part of the new list template.
Step 5: Save List as Template
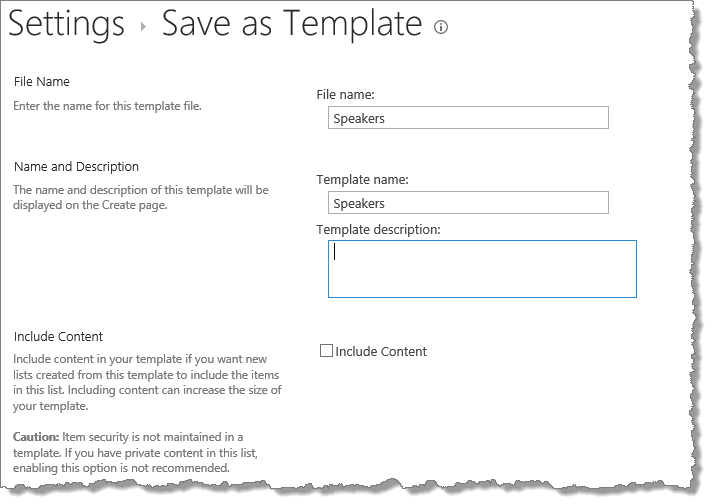
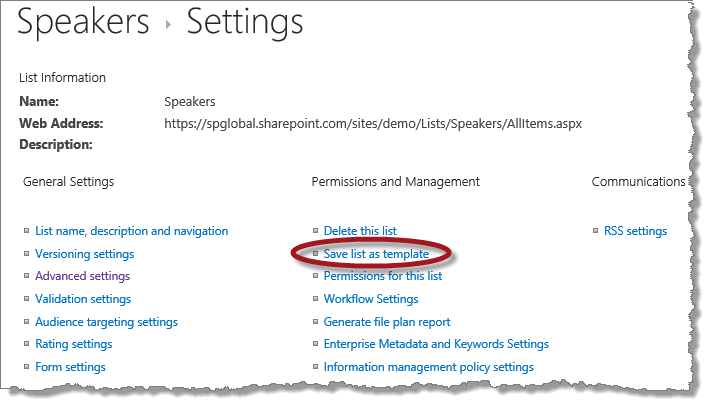
- To save the new list as a template, (from the List Settings page) click on Save list as template.
- Give your list template a File name and Template name. I named mine Speakers.
